How to Make 3D Paper Snowflakes: Easy DIY Twist Decoration
Make a 3D paper snowflake from six folded, cut and glued paper squares. A simple winter decoration to hang.
What You'll Need
- 6 square sheets of paper, all the same size
- Scissors
- Paper glue (the photos use a glue stick)
- Pencil or chopstick (optional, to hold the flaps while the glue sets)
Any six square sheets work. A glue stick is all you need to join them.
As an Amazon Associate we earn from qualifying purchases.
Difficulty: Easy. Time: 30–60 minutes. You need six square sheets of paper, scissors and paper glue.
Warning
Take care with the scissors when cutting through several layers of folded paper.
Gather your materials
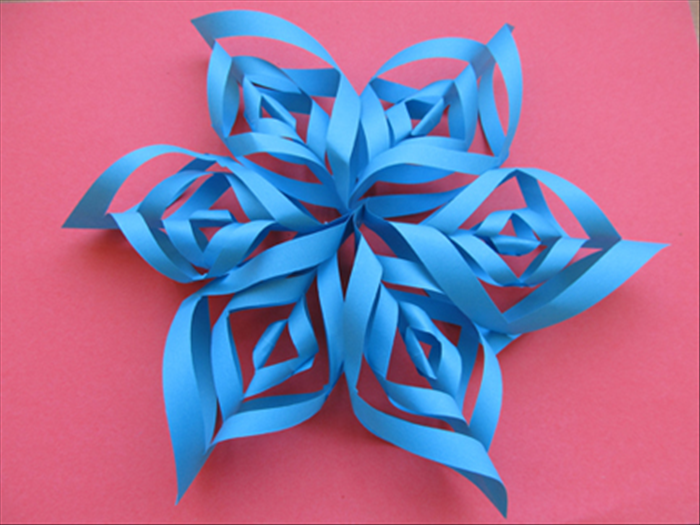
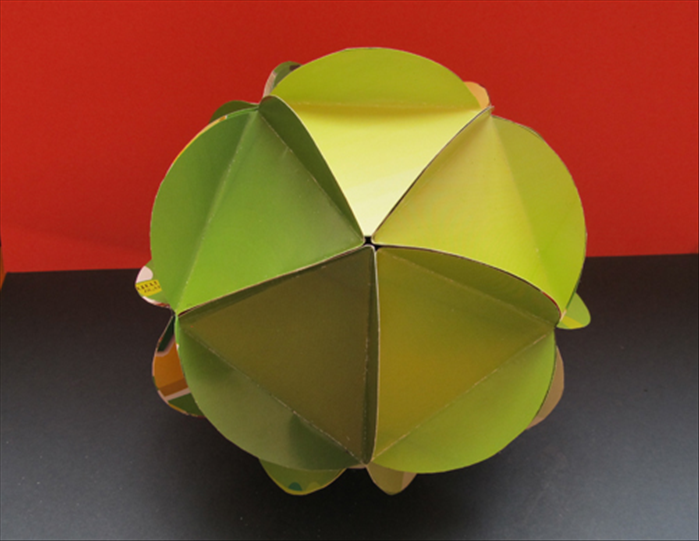
You need 6 squares of paper, scissors and paper glue. The photo shows the finished snowflake.
Fold in half
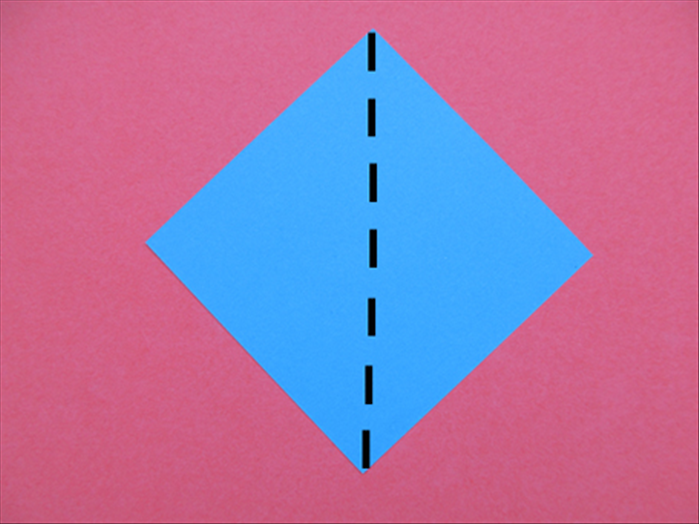
Place one square with its points at the top, bottom and sides. Bring the right point over to the left point to fold it in half.
Fold again
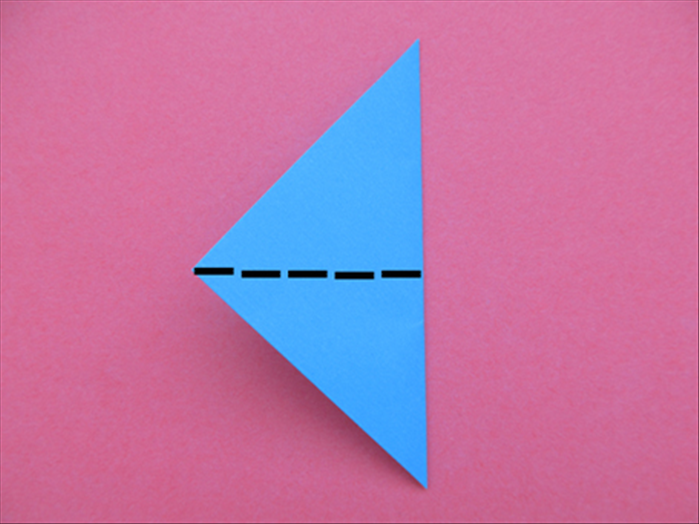
Bring the top point down to the bottom point to fold it in half again.
Cut the slits
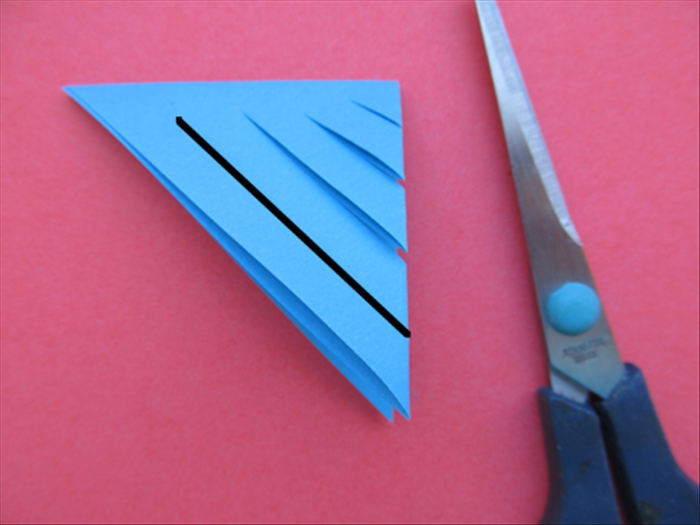
Cut 4 or 5 slits, evenly spaced, as shown in the photo. Do not cut all the way to the end.
Tip
Keep the gaps between the slits the same. Even strips give you even loops when you glue them.
Unfold
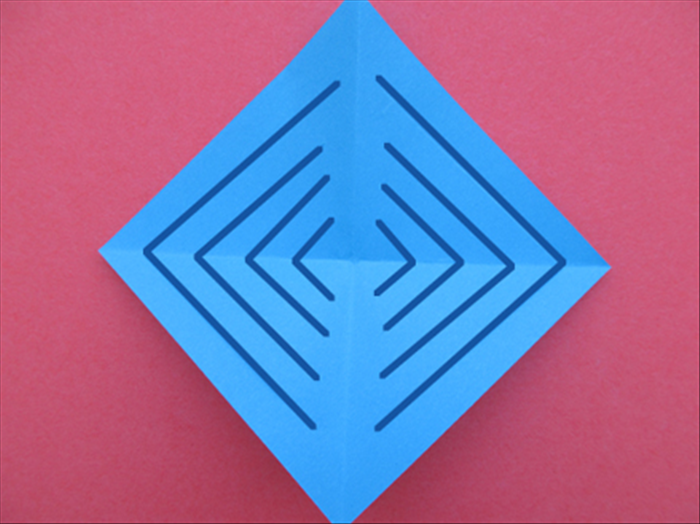
Unfold the paper carefully. Your cuts should look like the ones in the photo.
Lift the center triangles

Lift the 2 small triangles in the center.
Glue the first pair

Bring them up and around and glue them together. Don't flatten them. A pencil or chopstick under the flaps helps while you press them together.
Turn it over

Flip the paper over to the back and lift the 2 center slit points.
Glue the second pair

Bring them up and around and glue them together.
Keep going

Flip the paper over again and glue the next pair of slit edges together.
Finish the piece

Keep flipping and gluing until every pair of strips is joined. The small picture at the top left of the photo shows the piece from the side.
Make 6 pieces

Repeat steps 2 to 11 until you have 6 pieces.
Join 2 pieces

Take 2 pieces, line them up and glue their top tips together.
Add a third

Take another piece, line it up and glue its tip.
Add the rest

Keep gluing the tips together.
Close the circle

Carry on until all 6 tips are glued together in the middle.
Let it dry

When the glue is dry, the snowflake is ready to hang.