Inkscape Coloring Pages: Transform Clipart into Printable Art
Learn to transform free clipart into printable coloring pages using Inkscape. This guide covers vectorizing, simplifying paths, and exporting your designs.
What You'll Need
- A computer with internet access
- Inkscape software (free download from inkscape.org)
- Free clipart images (sources like Openclipart, Pixabay, Pexels)
Unleash your creativity and design personalized coloring pages with ease! This comprehensive guide will show you how to transform readily available free clipart into crisp, printable line art using Inkscape, a powerful and free vector graphics editor. Whether you're a parent looking to create unique activities for your kids, an educator seeking custom learning materials, or a DIY enthusiast eager to explore digital art, this tutorial will walk you through every step, from gathering your tools to exporting your masterpiece.
Understand Your Audience & Gather Tools
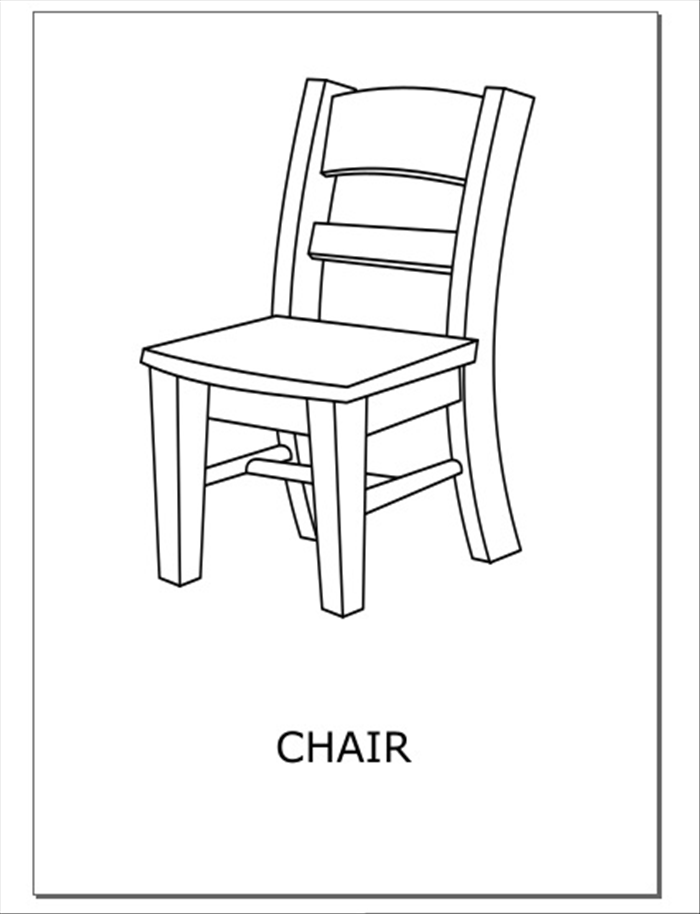
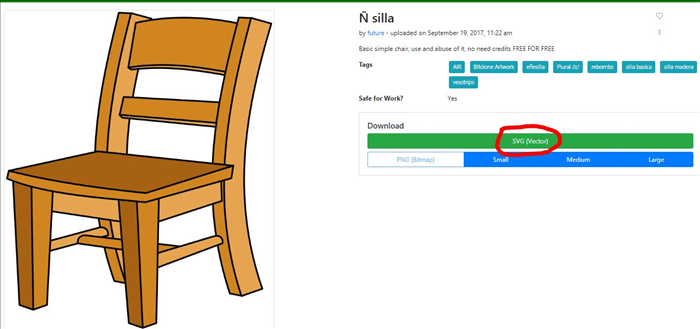
This guide is specifically designed for parents, educators, and DIY enthusiasts who want to create unique and personalized coloring pages for children or various creative projects, all without spending a dime on software. To begin your journey, first ensure you have Inkscape installed on your computer. It's a free and open-source vector graphics editor available for Windows, macOS, and Linux. Once Inkscape is ready, start browsing for free clipart images. Excellent resources include Openclipart, Pixabay, and Pexels, which offer a wide variety of royalty-free images you can use.
Import & Prepare Your Clipart in Inkscape

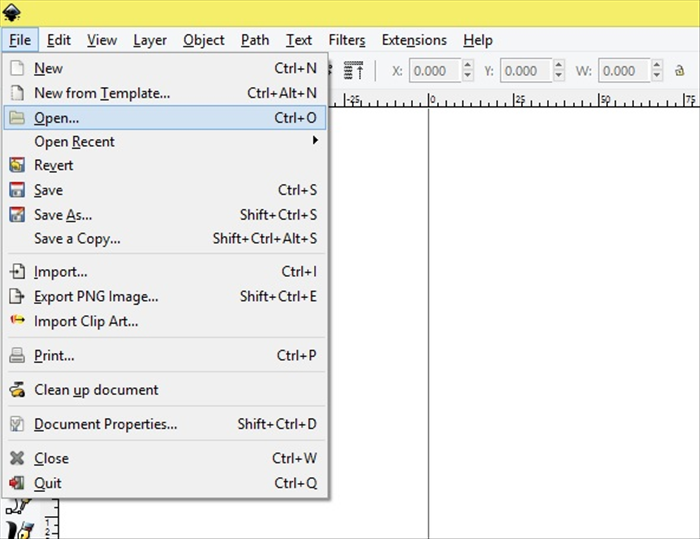
Open Inkscape and create a new document (File > New). Next, import your chosen clipart image into your Inkscape document by navigating to File > Import. A dialog box will appear; simply select your clipart file and click "Open." Once imported, you'll see your image on the canvas. Use the selection tool (S) to resize and position the clipart to fit your desired coloring page layout. Think about how much space you want around the image for borders or text.
Vectorize the Clipart for Clean Lines
This is the magic step! With your imported image selected, go to Path > Trace Bitmap. This feature converts raster images (like JPEGs or PNGs) into vector paths, which means clean, scalable lines perfect for coloring. In the "Trace Bitmap" dialog, experiment with the "Single scan" options. "Brightness Cutoff" is a good starting point for simple images; adjust the "Threshold" slider until you achieve clear, distinct outlines. For more complex images, "Edge Detection" can yield excellent results. Once you're happy with the preview, click "Apply," then close the dialog. You will now have two copies of your image; drag the vectorized version off, and delete the original raster image.
Refine Paths & Simplify Details
Vectorizing can sometimes create many tiny nodes, making the image complex. To simplify, select your traced object and go to Path > Simplify (or use the shortcut Ctrl+L). This reduces the number of nodes while trying to preserve the shape, resulting in smoother lines. For more precise control, use the Node tool (F2). With this tool, you can manually select and adjust individual nodes, delete unnecessary ones, or even add new ones to refine curves and sharp corners. If you have multiple distinct parts that should be one, select them and use Path > Union to combine them.
Adjust Line Thickness & Style
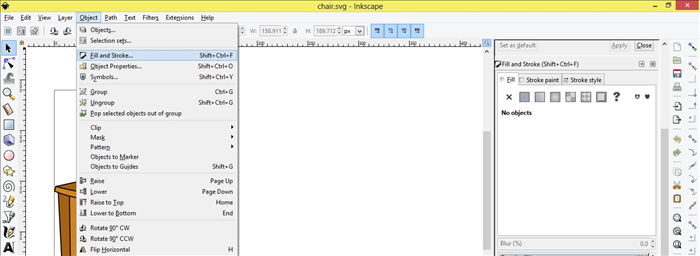
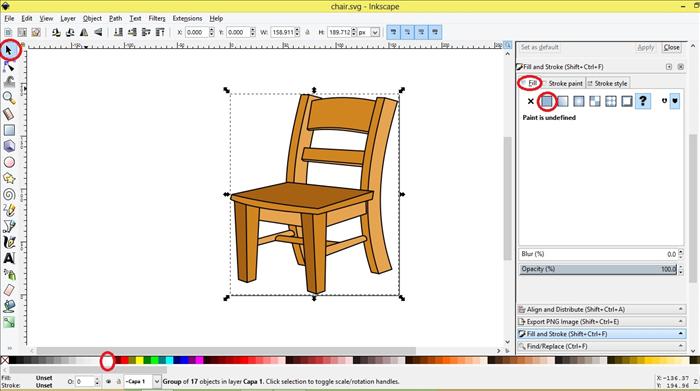
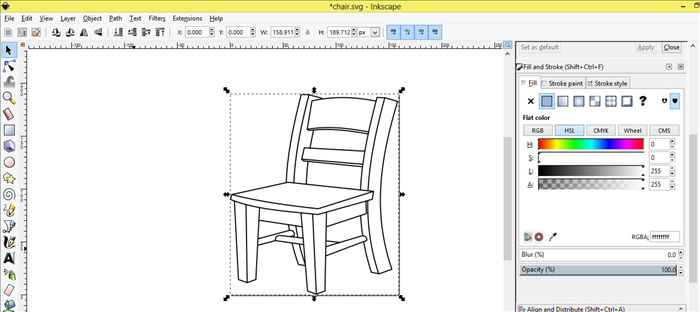
Now it's time to give your coloring page its distinctive look. Select all the vectorized paths in your drawing. Open the "Fill and Stroke" dialog by going to Object > Fill and Stroke. In the "Fill" tab, ensure "No Paint" (the X button) is selected so your lines are not filled with color. Then, switch to the "Stroke Style" tab. Here, you can adjust the "Width" to make your lines thicker or thinner, depending on your preference. Typically, a width between 1.0mm and 2.0mm works well for coloring pages. In the "Stroke paint" tab, ensure the color is set to black for traditional coloring pages.
Export Your Coloring Page for Printing
Periodically save your Inkscape project as an SVG file (File > Save As... .svg) to preserve all your vector data for future edits. When you're ready to print, export your coloring page as a PDF for the highest quality print output. Go to File > Save As... and select "Portable Document Format (*.pdf)" from the dropdown menu. If you plan to share your coloring page digitally or use it on a website with a transparent background, use File > Export PNG Image... In the export dialog, ensure "Page" or "Drawing" is selected for the export area, then click "Export".
For best results, choose clipart with clear, distinct outlines. Simple cartoon characters or silhouette-style images vectorize exceptionally well. Avoid highly detailed or photographic images as they can result in messy traces.
Always double-check the licensing of free clipart you use, especially if you plan to distribute or sell your coloring pages. Most free clipart sites offer licenses for personal and sometimes commercial use, but it's good practice to verify.
Troubleshooting & Advanced Tips
<ul><li><b>Tracing Issues:</b> If your image traces poorly (jagged lines, missing details), try preprocessing it in a raster editor like GIMP or Photopea first. Increase contrast, sharpen the image, or convert it to grayscale before importing into Inkscape.</li><li><b>Oversimplification:</b> While Path > Simplify is useful, using it too aggressively can remove crucial details. If this happens, use Ctrl+Z to undo and try manually editing nodes with the Node tool for more control.</li><li><b>File Formats:</b> Remember: PDF for pristine print quality, PNG for digital sharing with transparent backgrounds, and SVG for keeping your work editable in Inkscape.</li><li><b>Complex Clipart:</b> For very intricate images, consider breaking them down. You might trace different sections separately and then combine them, or even redraw parts using Inkscape's drawing tools (Bezier curves, pen tool).</li><li><b>Adding Text/Borders:</b> Enhance your coloring pages with titles or decorative borders using Inkscape's built-in tools. The Text tool (T) allows you to add custom text, and the Rectangle tool (R) can create simple borders that you can then style.</li></ul>
With Inkscape and these techniques, you're now equipped to create an endless supply of custom coloring pages. Experiment with different clipart, explore Inkscape's other features, and most importantly, have fun bringing your ideas to life! Share your creations with friends, family, or your community.