How to Make a Paper Roman Laurel: Easy DIY for Costumes & Crafts
Craft an easy paper Roman laurel for costumes or school projects! Simple, step-by-step DIY guide perfect for kids and last-minute Roman outfits.
What You'll Need
- Green construction paper (multipack)
- Chipboard strip (or upcycled cereal box)
- PVA craft glue
- HB pencils (pack)
- Craft scissors
- Ruler 12 inch
Make a paper Roman laurel wreath for costumes, school projects, or Halloween. This guide uses basic materials and takes about 30 minutes.
Gather Your Materials
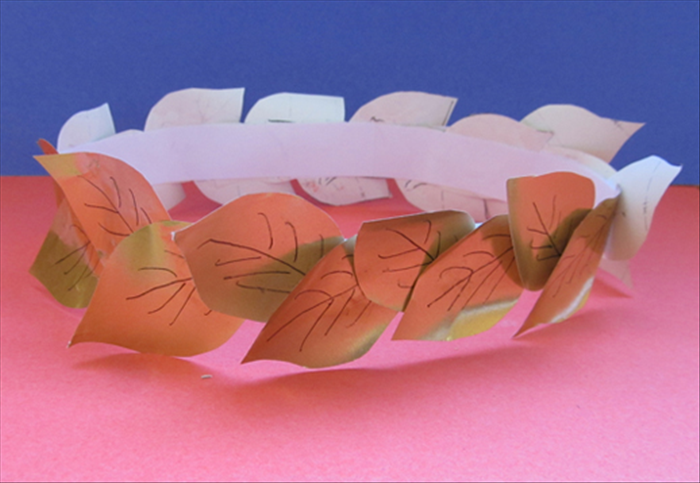
Lay out all materials on a clean, flat surface. Ensure everything is within reach.
Prepare Your Laurel Leaves
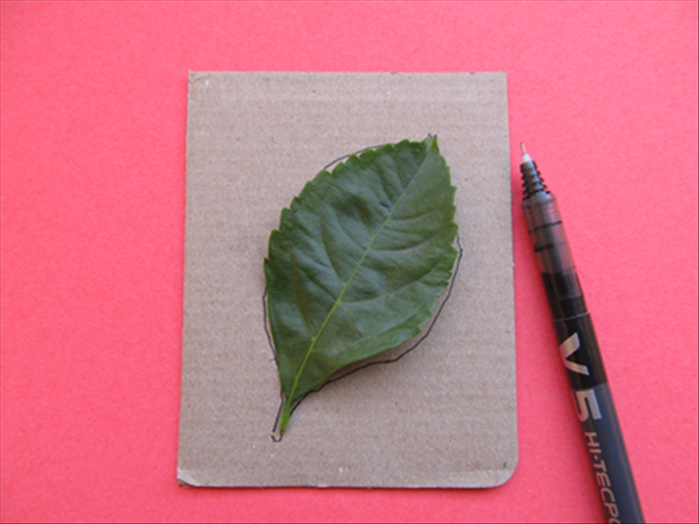
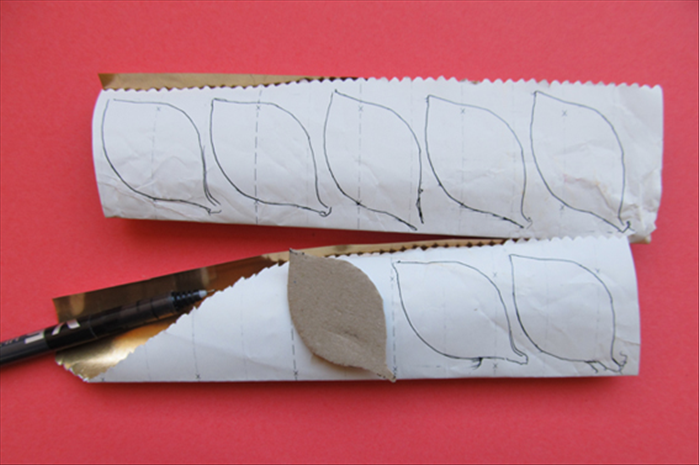
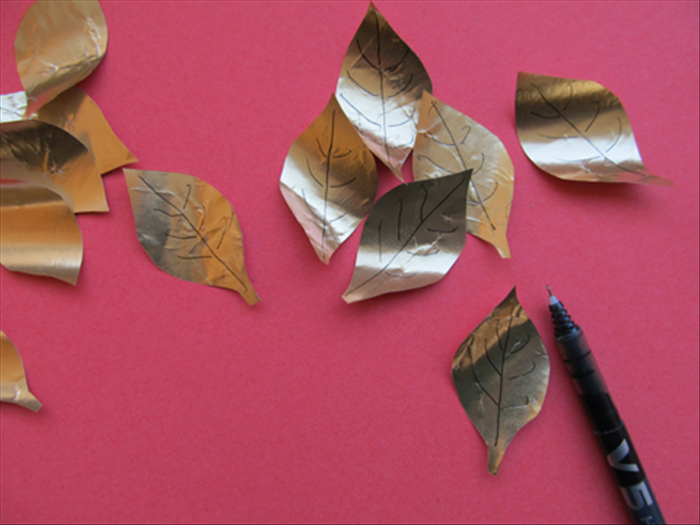
On green construction paper, draw elongated leaf shapes about 3-4 inches (7-10 cm) long. Cut out enough leaves to cover the headband (about 20-25).
Construct the Headband Base
Using a ruler and pencil, mark a strip of cardboard or thick paper about 2 inches (5 cm) wide. Cut it to fit around your head, leaving a 1-inch overlap for gluing. Form a circle and glue the ends together.
Attach the Leaves to the Headband
Start at the seam of the headband. Apply a small dab of glue to the base of each leaf and press it onto the headband, overlapping slightly. Continue around the entire band, angling leaves outward.
Finishing Touches
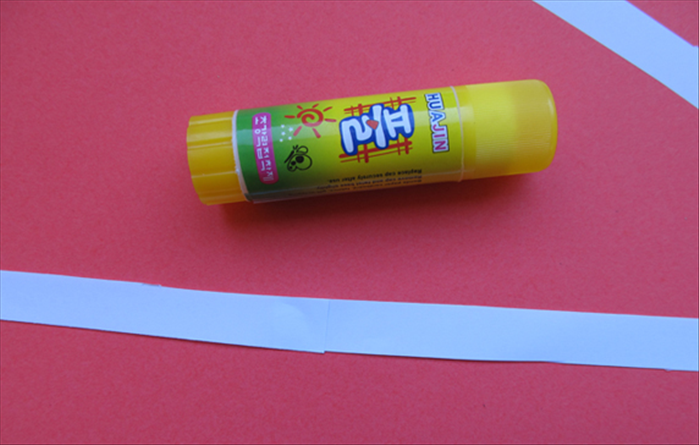
Let the glue dry completely. Trim any excess paper or uneven edges. Adjust the leaves to create a full, even look.
Tip
For a more realistic look, vary the shade of green paper or lightly crinkle some leaves before gluing.
Tip
If making for a child, ensure the headband isn't too tight. Use elastic or string to measure head circumference accurately.
Tip
For a professional finish, overlap the first and last leaves neatly to hide the starting point.
Warning
Use scissors carefully, especially when cutting cardboard. Adult supervision recommended for children.