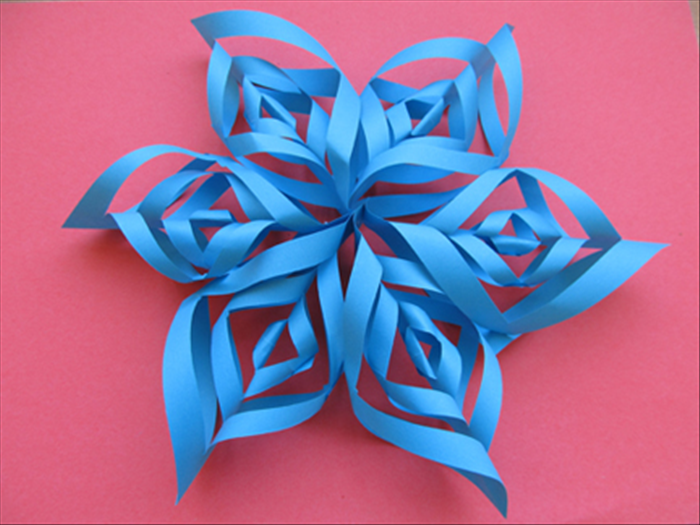
How to Make 3D Paper Snowflakes: Easy DIY Twist Decoration
Make 3D paper snowflakes with six folded squares, cuts, and staples or glue. A simple winter craft for decorations.
What You'll Need
- 6 square sheets of paper (6x6 inches or 15x15 cm)
- Scissors
- Stapler with staples or craft glue
- Pencil (optional, for marking)
Difficulty: Easy. Time: 30–60 minutes. You need six square paper sheets, scissors, and a stapler or glue.
Step 1: Fold the Paper
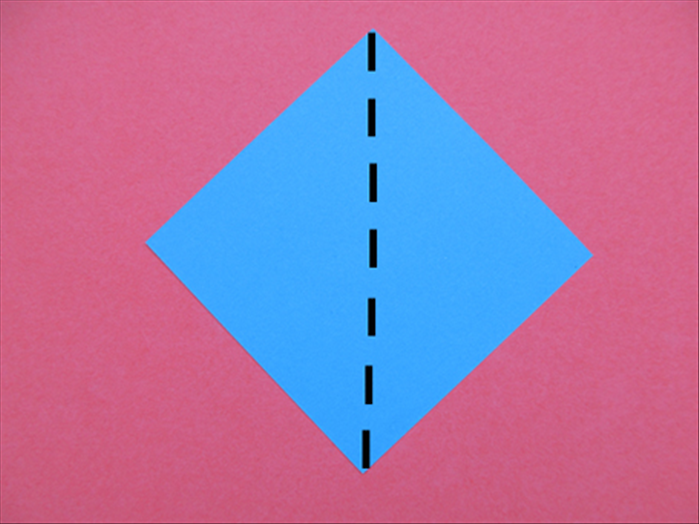
Take one square sheet. Fold it diagonally in half to form a large triangle. Fold that triangle in half again to make a smaller triangle.
Step 2: Make Parallel Cuts
With the double-folded edge (longest side) facing you, make three parallel cuts. Start each cut from the folded edge and stop about 1/4 inch (0.5 cm) from the opposite edge. Space the cuts evenly.
Tip
For precise cuts, lightly mark lines with a pencil and ruler before cutting. This keeps the snowflake arms symmetrical.
Step 3: Unfold the Paper
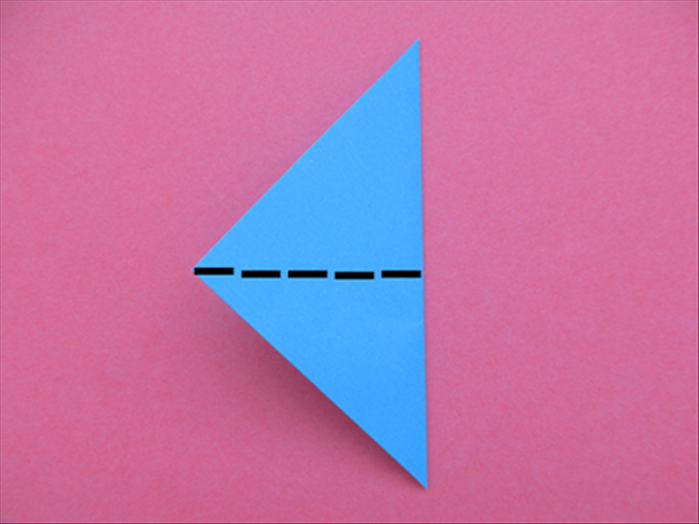
Unfold the paper once to the large triangle shape, then unfold completely to reveal the square with cut slits.
Step 4: Connect the Center Strips
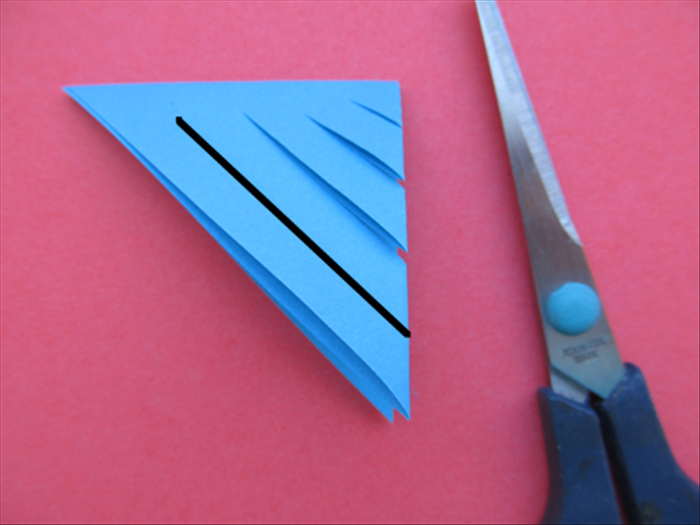
Turn the square so one corner points upward. Take the two innermost strips (the smallest square formed by the cuts) and bring them together. Staple or glue the tips to form a loop. Flip the paper over and repeat with the next pair of strips, alternating sides. Continue until all strips are connected.
Step 5: Assemble the Snowflake
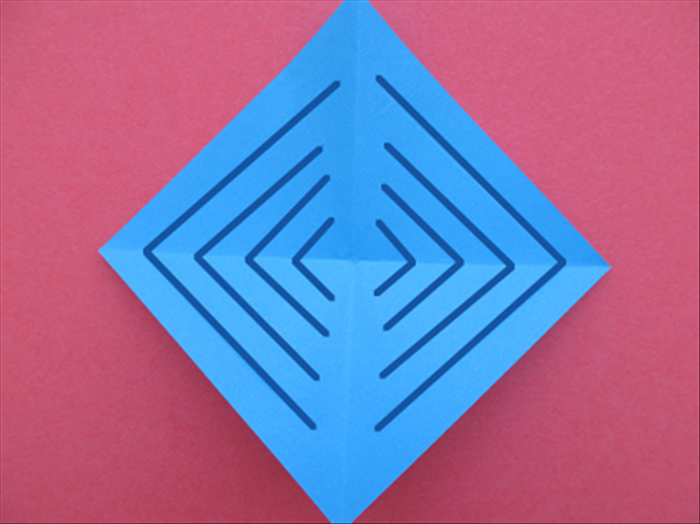
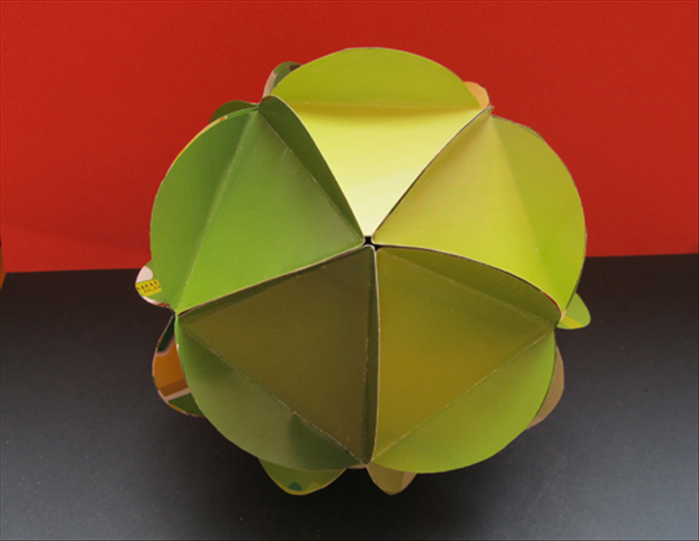
Repeat steps 1–4 for the remaining five squares. Once you have six identical pieces, staple or glue them together at the center points. Fan out the arms to form a 3D snowflake.
Warning
Use scissors carefully, especially when cutting multiple layers. Keep staples away from small children.