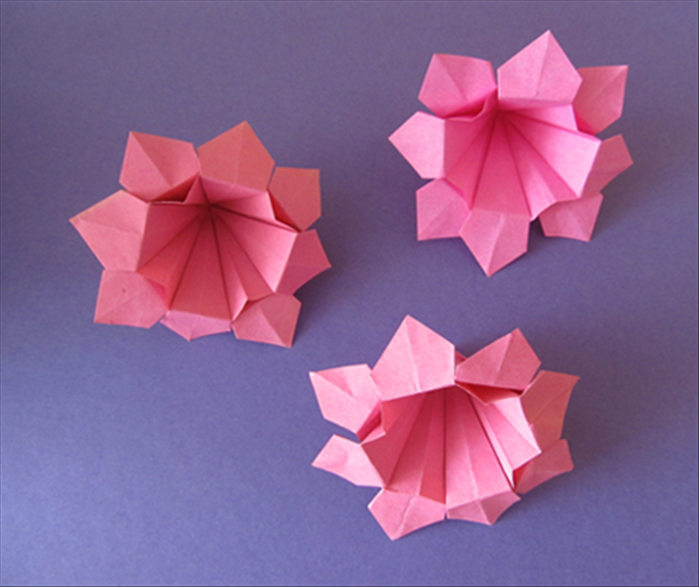
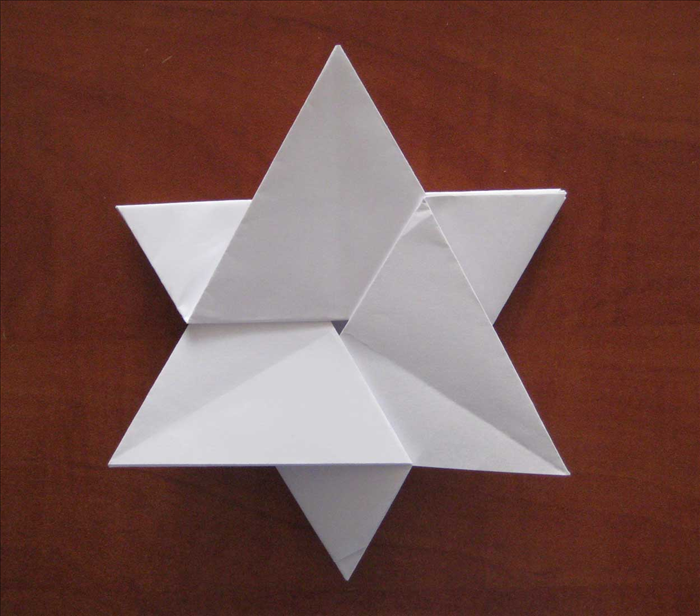
How to Make an Easy Origami Harebell Flower
Fold a traditional origami harebell flower with this step-by-step guide for beginners.
What You'll Need
- One square sheet of origami paper, 6x6 inches (thin to medium weight)
This guide shows how to fold a traditional origami harebell flower. Use thin to medium weight paper for crisp folds.
Step 1: Prepare Your Paper
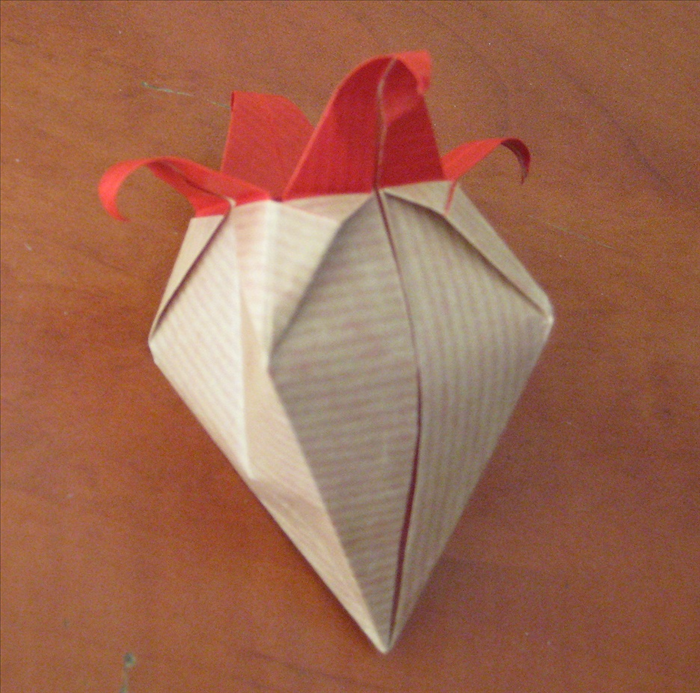
Place the paper colored-side up. If using a 6x6 inch sheet, keep it square. Ensure your workspace is clean and flat.
Step 2: Make the Initial Base Folds
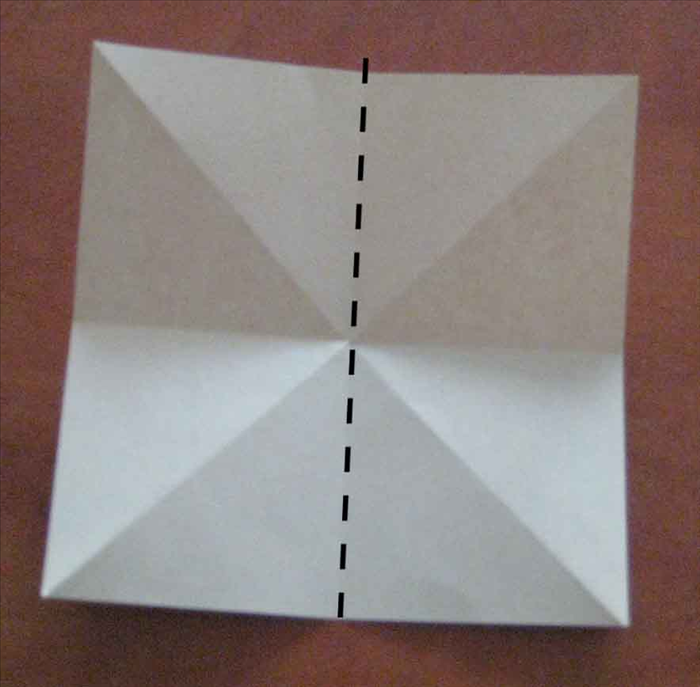
Fold the paper in half diagonally to form a triangle, then unfold. Fold in half diagonally the other way, then unfold. Turn the paper over. Fold in half horizontally and vertically, unfolding after each. Collapse along the creases to form a square base (a square with a open end at the bottom).
Step 3: Shape the Petals
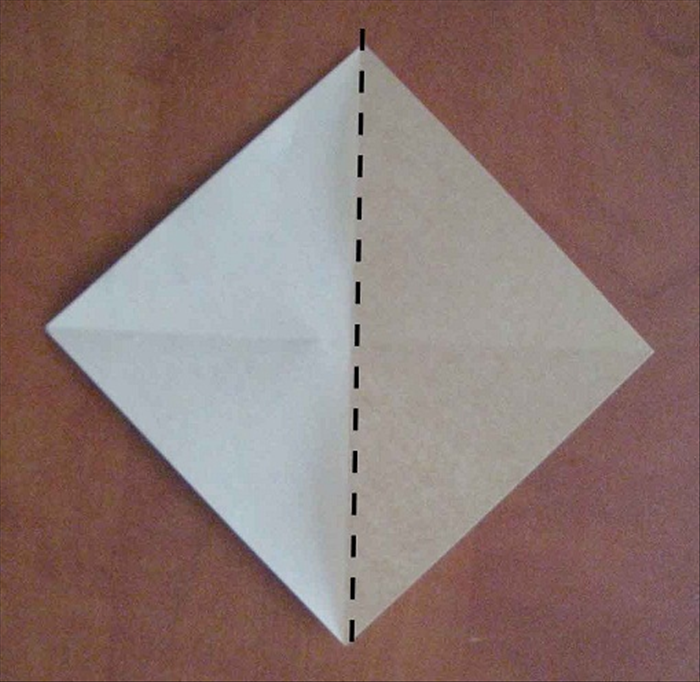
With the open end of the square base facing down, take one top flap and fold its bottom edge up to the top point. Repeat on the other three flaps. Then fold the top corners of each flap inward to the center line, and unfold. Use the creases to fold each flap into a petal shape, tucking the sides inward.
Step 4: Refine the Flower
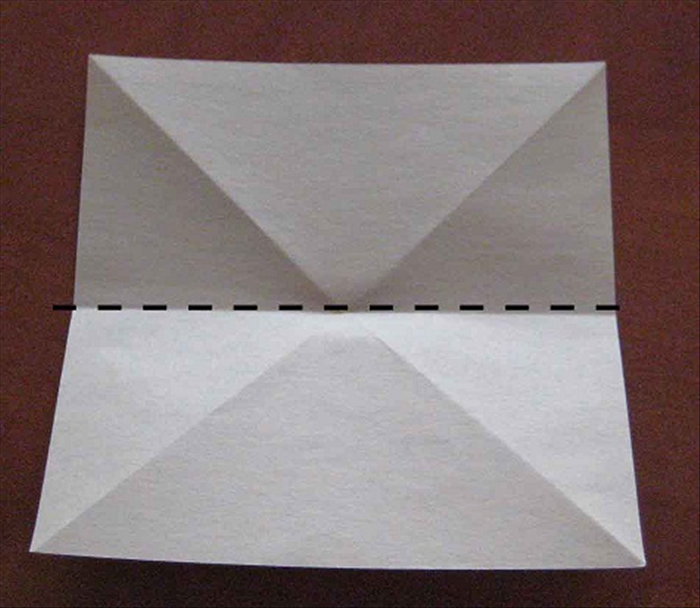
Gently curve the tips of each petal outward or inward to give a natural bell shape. Open the bottom hole slightly to make the flower stand or hang.
Step 5: Finish and Display
Your origami harebell is complete. Place it on a table, attach a string to hang it, or use it as a decoration.
Tip
Use a bone folder or a credit card to make sharp creases for cleaner folds.
Warning
Avoid using thick or textured paper, as it may tear or resist precise folding.