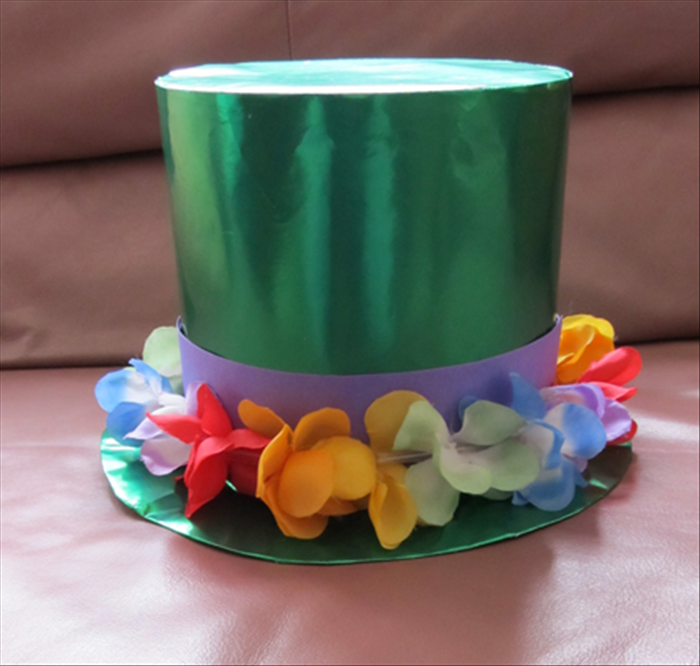
How to Make an Upcycled Gift Container from a Plastic Bottle
Turn a clean plastic bottle into a reusable gift container for candies, cookies, or small gifts.
What You'll Need
- Clean plastic bottle (any size)
- Decorative paper or fabric
- Ribbon or twine
- Glue (craft glue or hot glue)
- Optional: paint and plastic primer
- Scissors or craft knife
- Ruler
- Permanent marker
- Masking tape
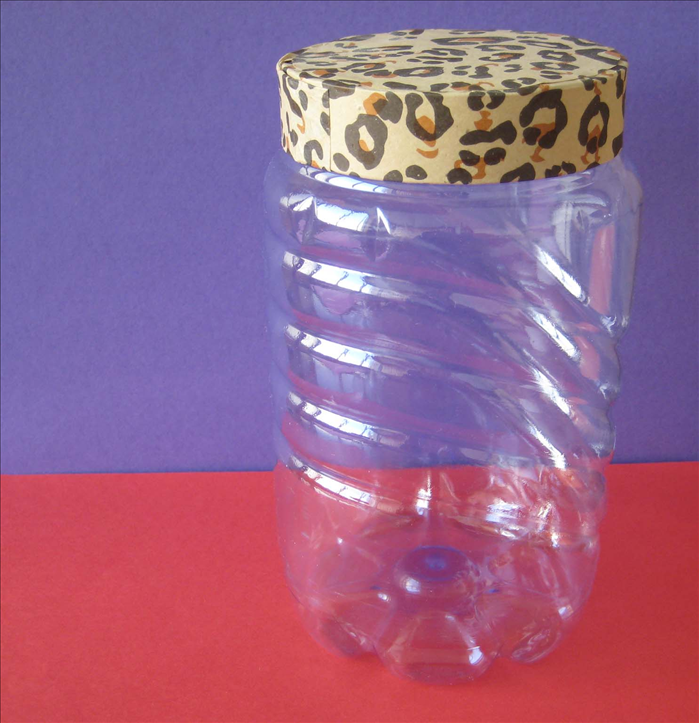
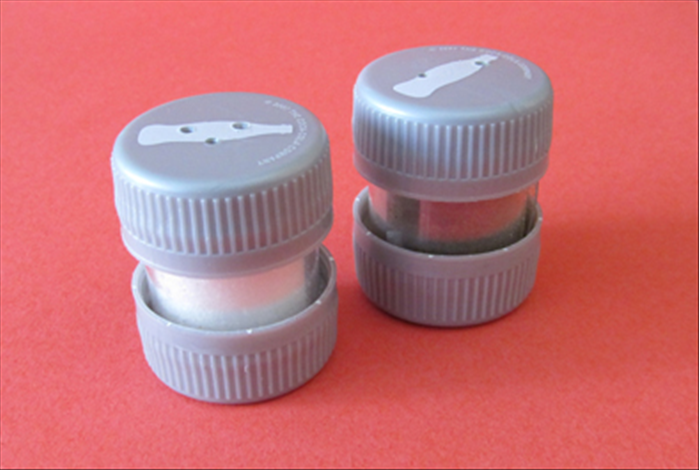
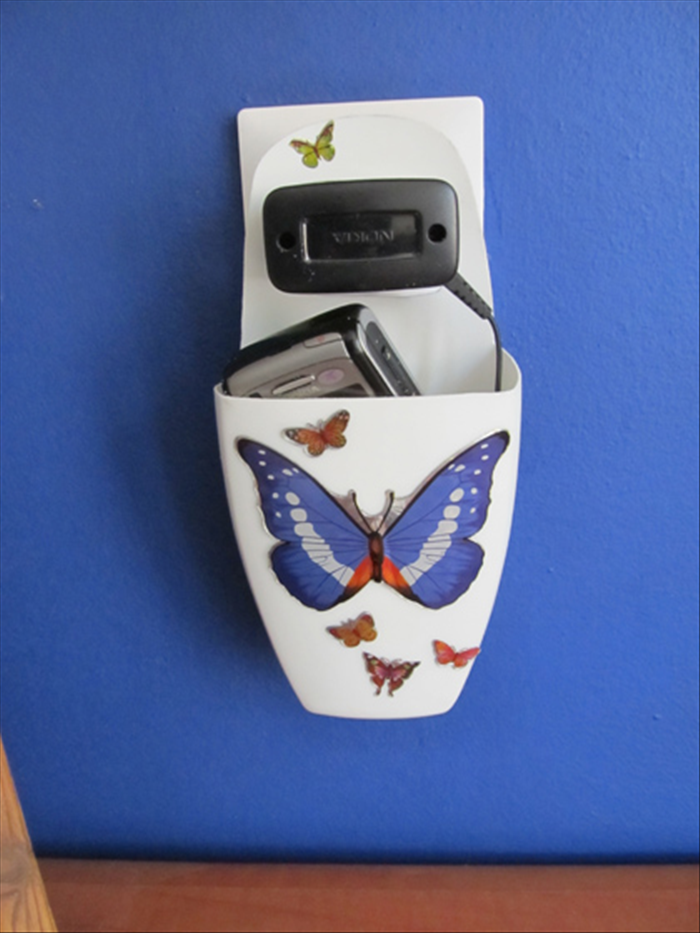
Transform a plastic bottle into a gift container. Wash and dry the bottle, cut it into two parts, decorate, and fill.
Prepare the Bottle
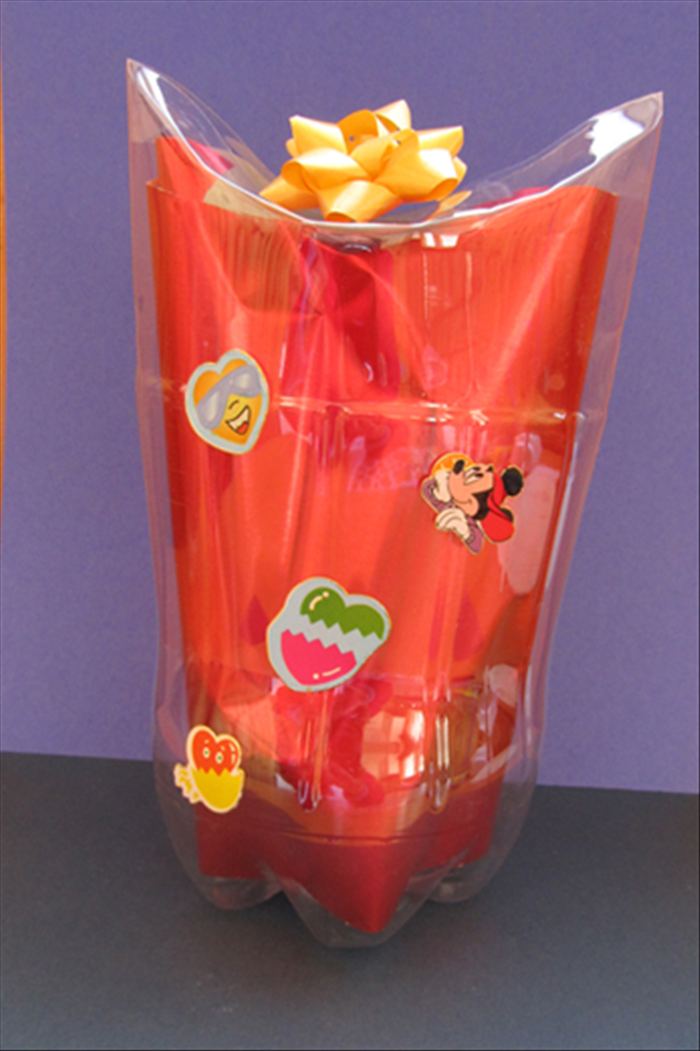
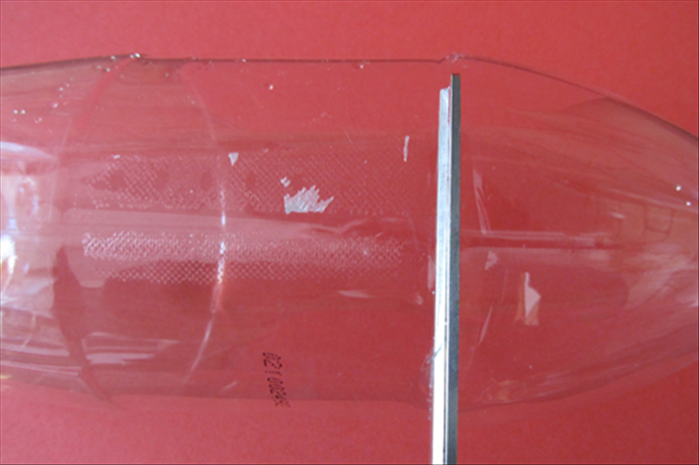
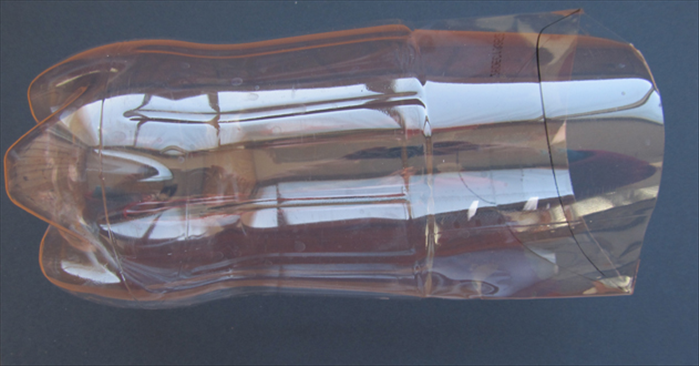
Wash the bottle with soap and water, then air dry completely. Use a ruler and permanent marker to draw a straight line around the bottle where you want to cut. Wrap masking tape along the line for a cleaner cut. Cut along the line with scissors or a craft knife to separate the bottle into top and bottom parts.
Cutting Tip
Wrap masking tape around the bottle at the cut line. This gives a straight guide and reduces slipping.
Shape and Assemble
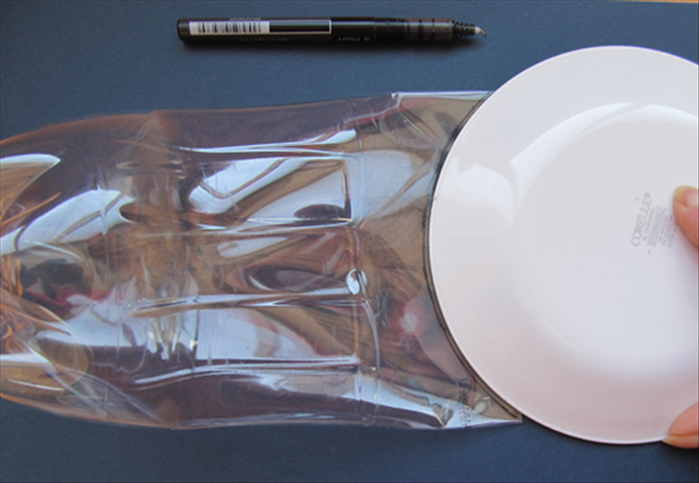
Trim the cut edges of both bottle parts to smooth them. Slide the top part (with the neck) into the bottom part, or vice versa, so they overlap snugly. Adjust the fit so the container holds together firmly. If needed, secure the joint with a small amount of glue.
Decorate the Container
Wrap the outside of the container with decorative paper or fabric, securing with glue. Add ribbon or twine around the middle to hide the seam. If painting, apply plastic primer first, then paint and let dry completely.
Painting Tip
Use a primer made for plastic before painting to help the paint stick and last longer.
Fill and Present
Place candies, cookies, or small gifts inside the container. Close the lid (the bottle cap or the top part) and tie a ribbon or tag around the neck for a finished look.
Safety
Use sharp tools carefully. Adult supervision is required if children are cutting or handling craft knives.